 |
IPSDK 4.2
IPSDK : Image Processing Software Development Kit
|
|
IPSDK 4.2
IPSDK : Image Processing Software Development Kit
|
The moviemaker module allows the user to create his own 3D animations, in a way similar to video editing softwares, and then export them as videos or gifs.
Creating movies or animations facilitates the understanding and readability of 3D results, thus avoiding the use of 2D screenshots, which are usually harder to interpret. This module is an embedded solution in IPSDK Explorer for sharing results via publications or during presentations.
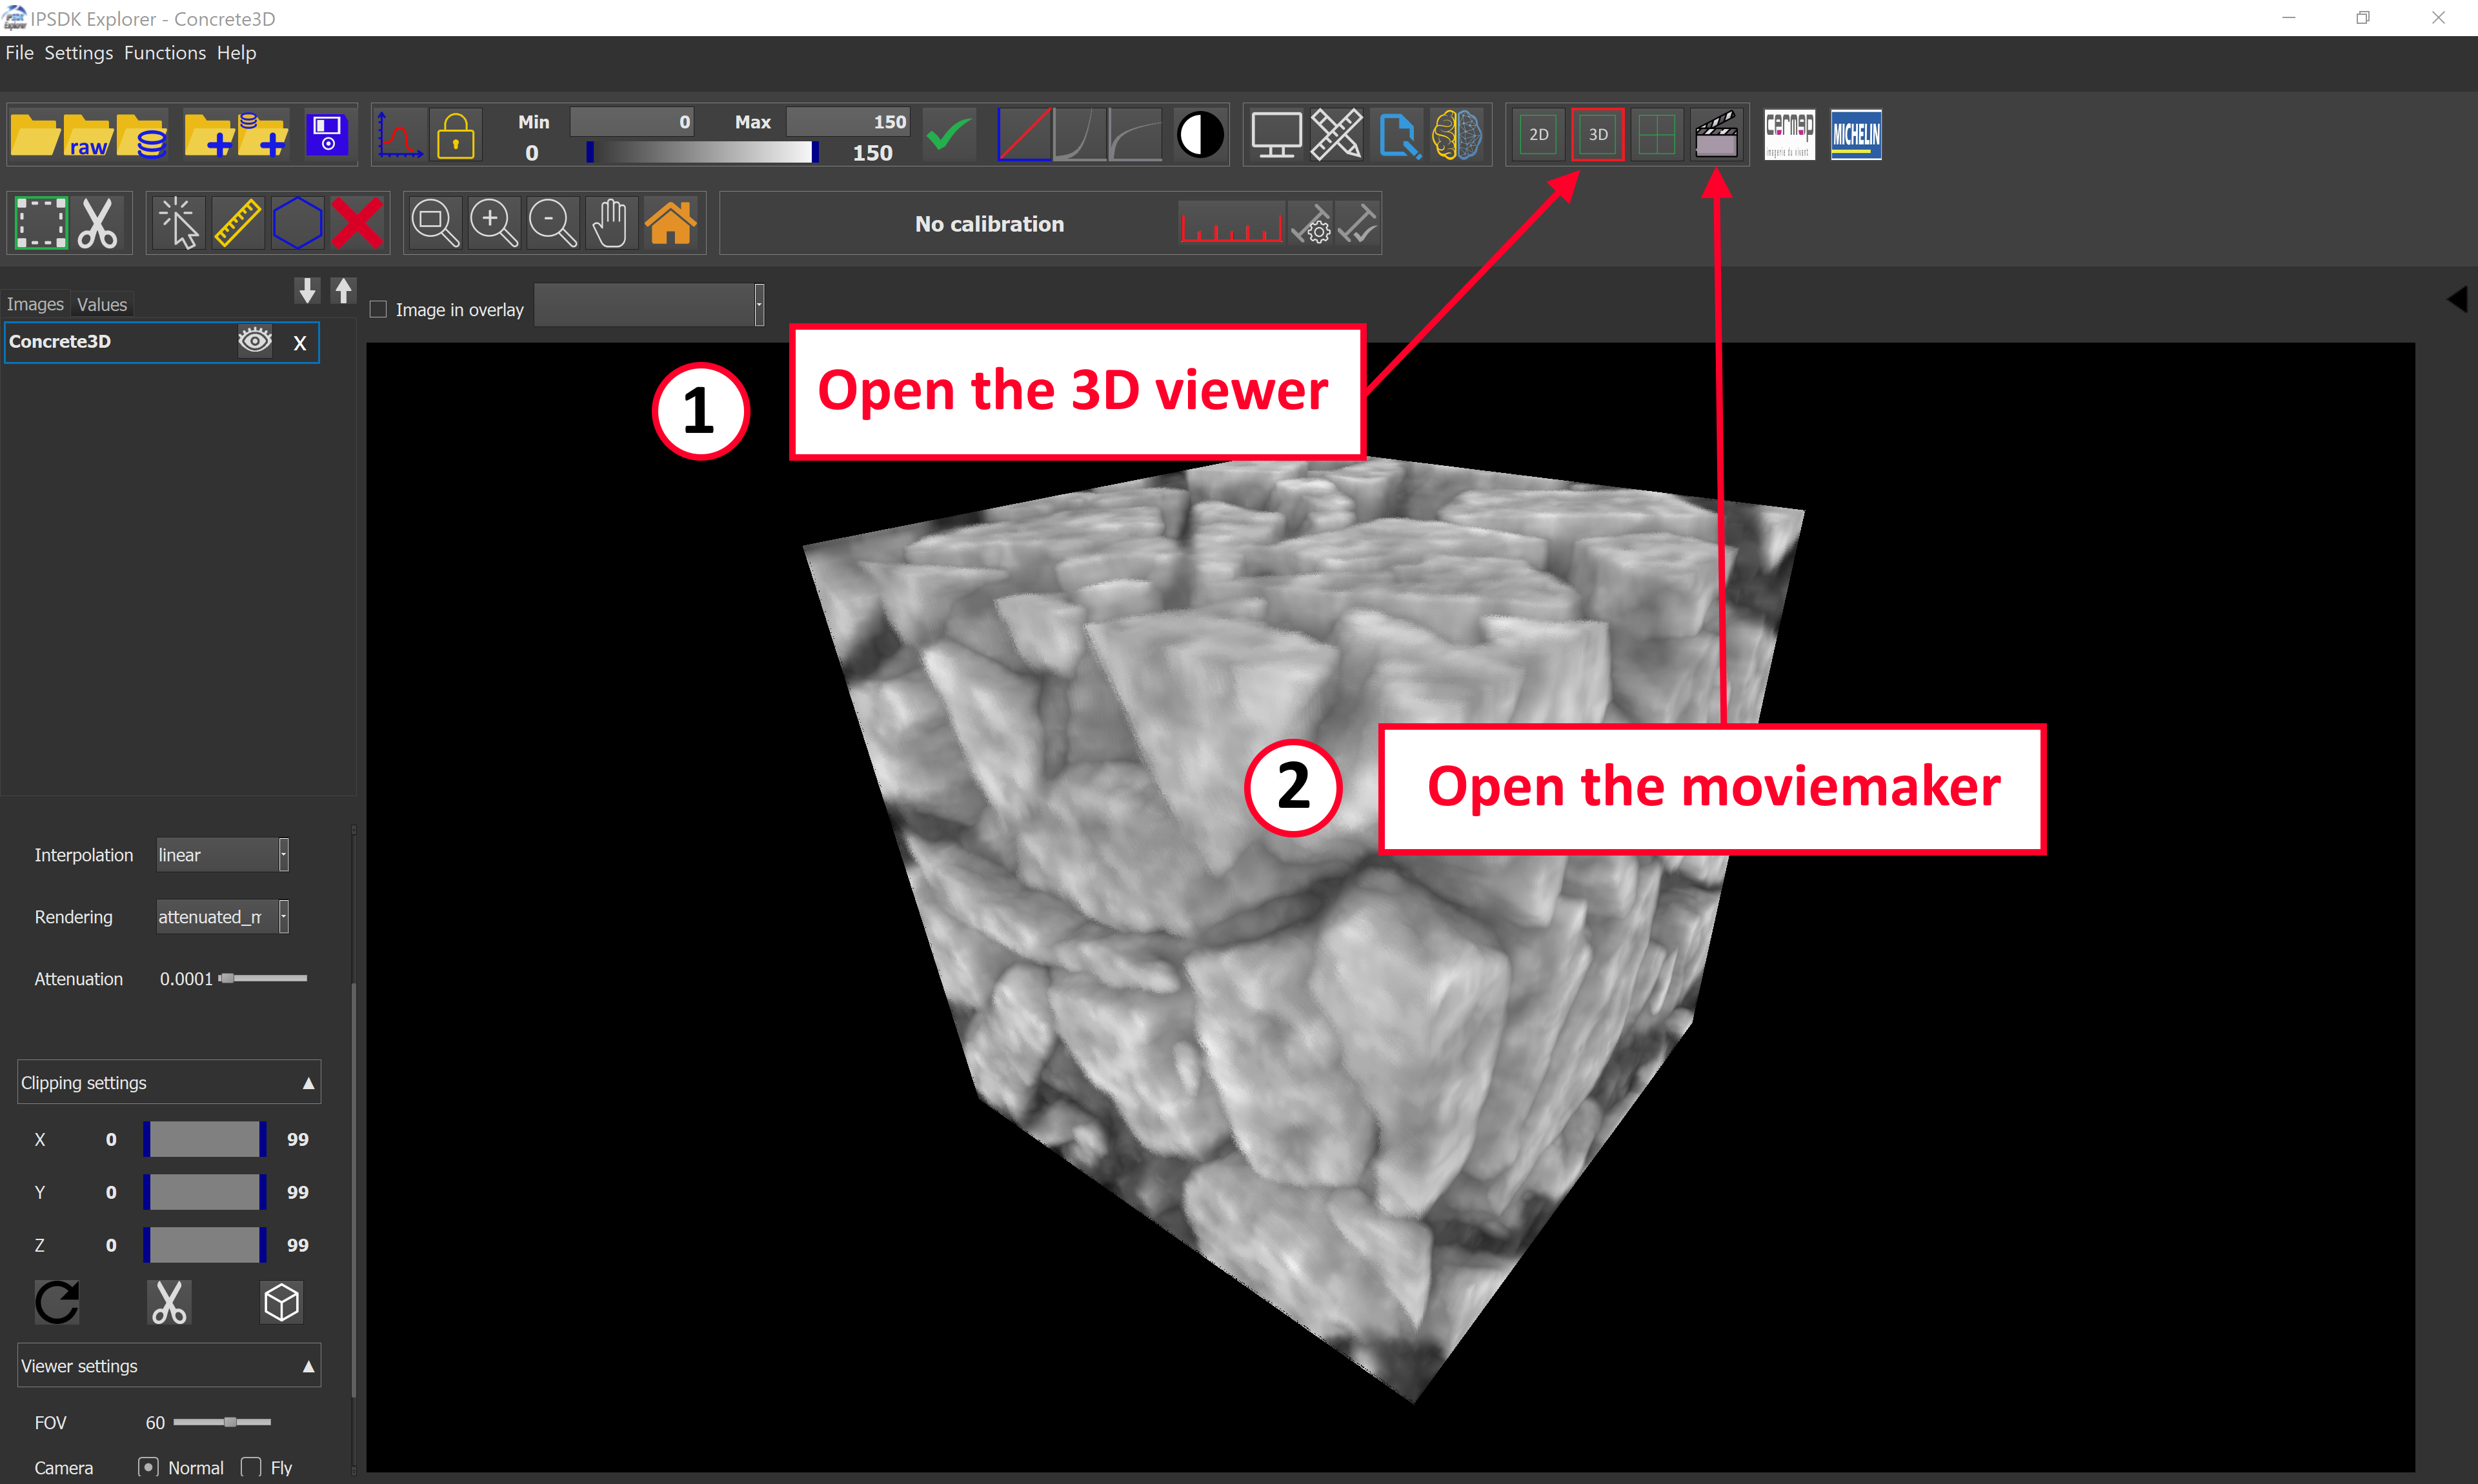
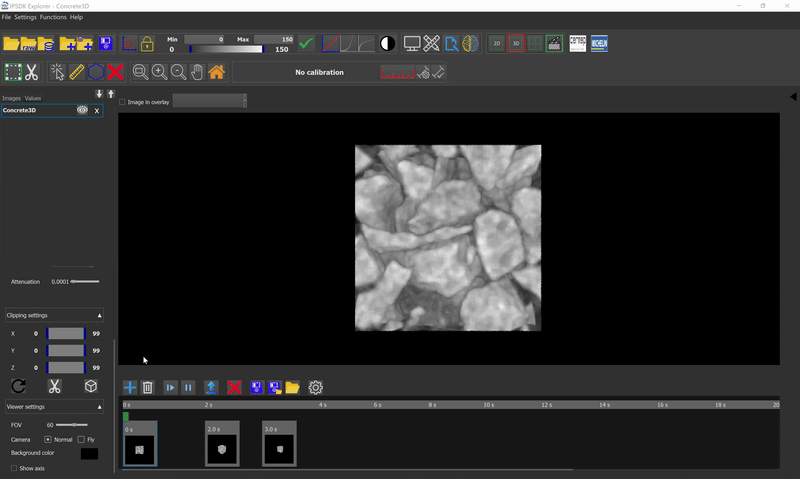
The module launches by accessing the 3D viewer module first, by clicking on the 3D button, then by clicking on the clapperboard button.
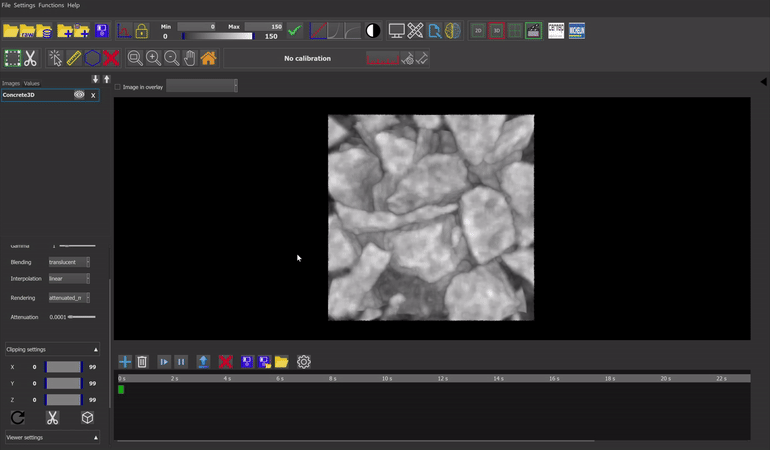
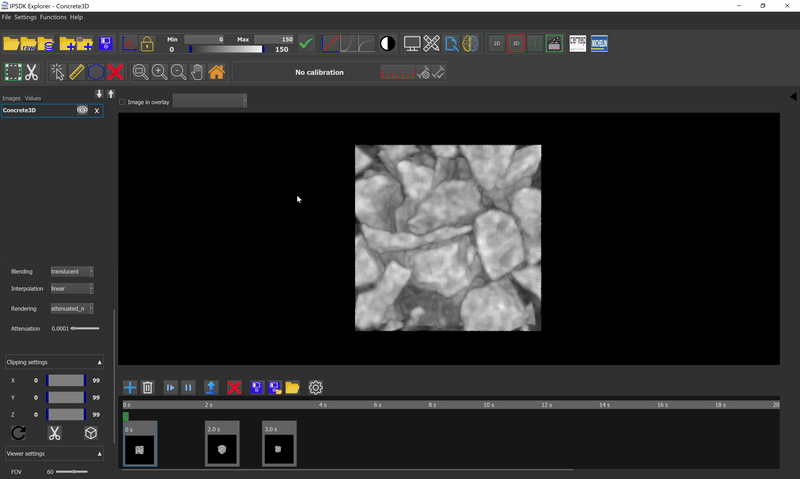
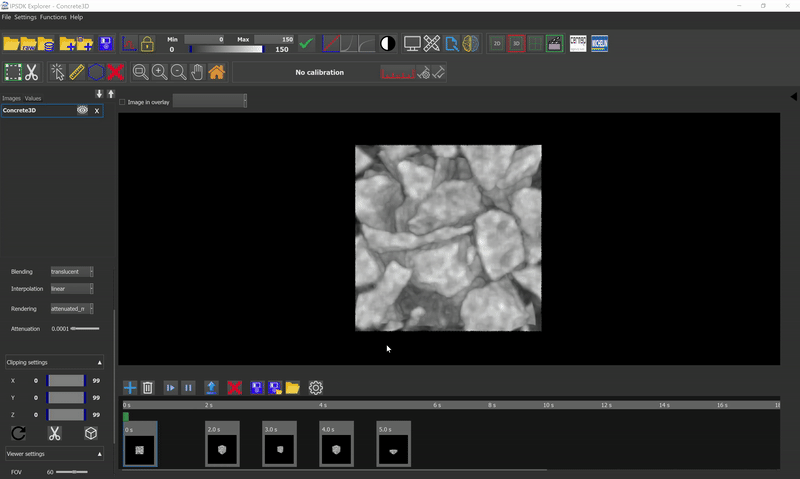
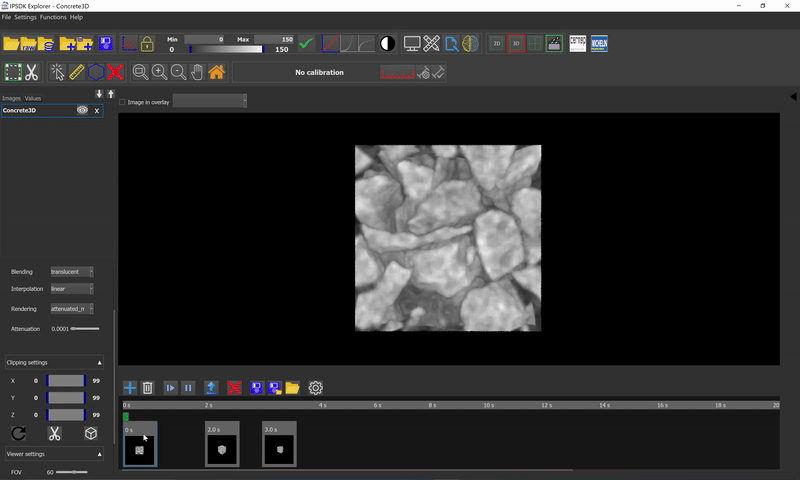
Once the movie maker module is opened, additional buttons and a timeline will appear beneath the 3D viewer. It is on this timeline that the frames forming the animations will be added. Below is an illustration depicting the 3D viewer in moviemaker mode, with several frames within the timeline.
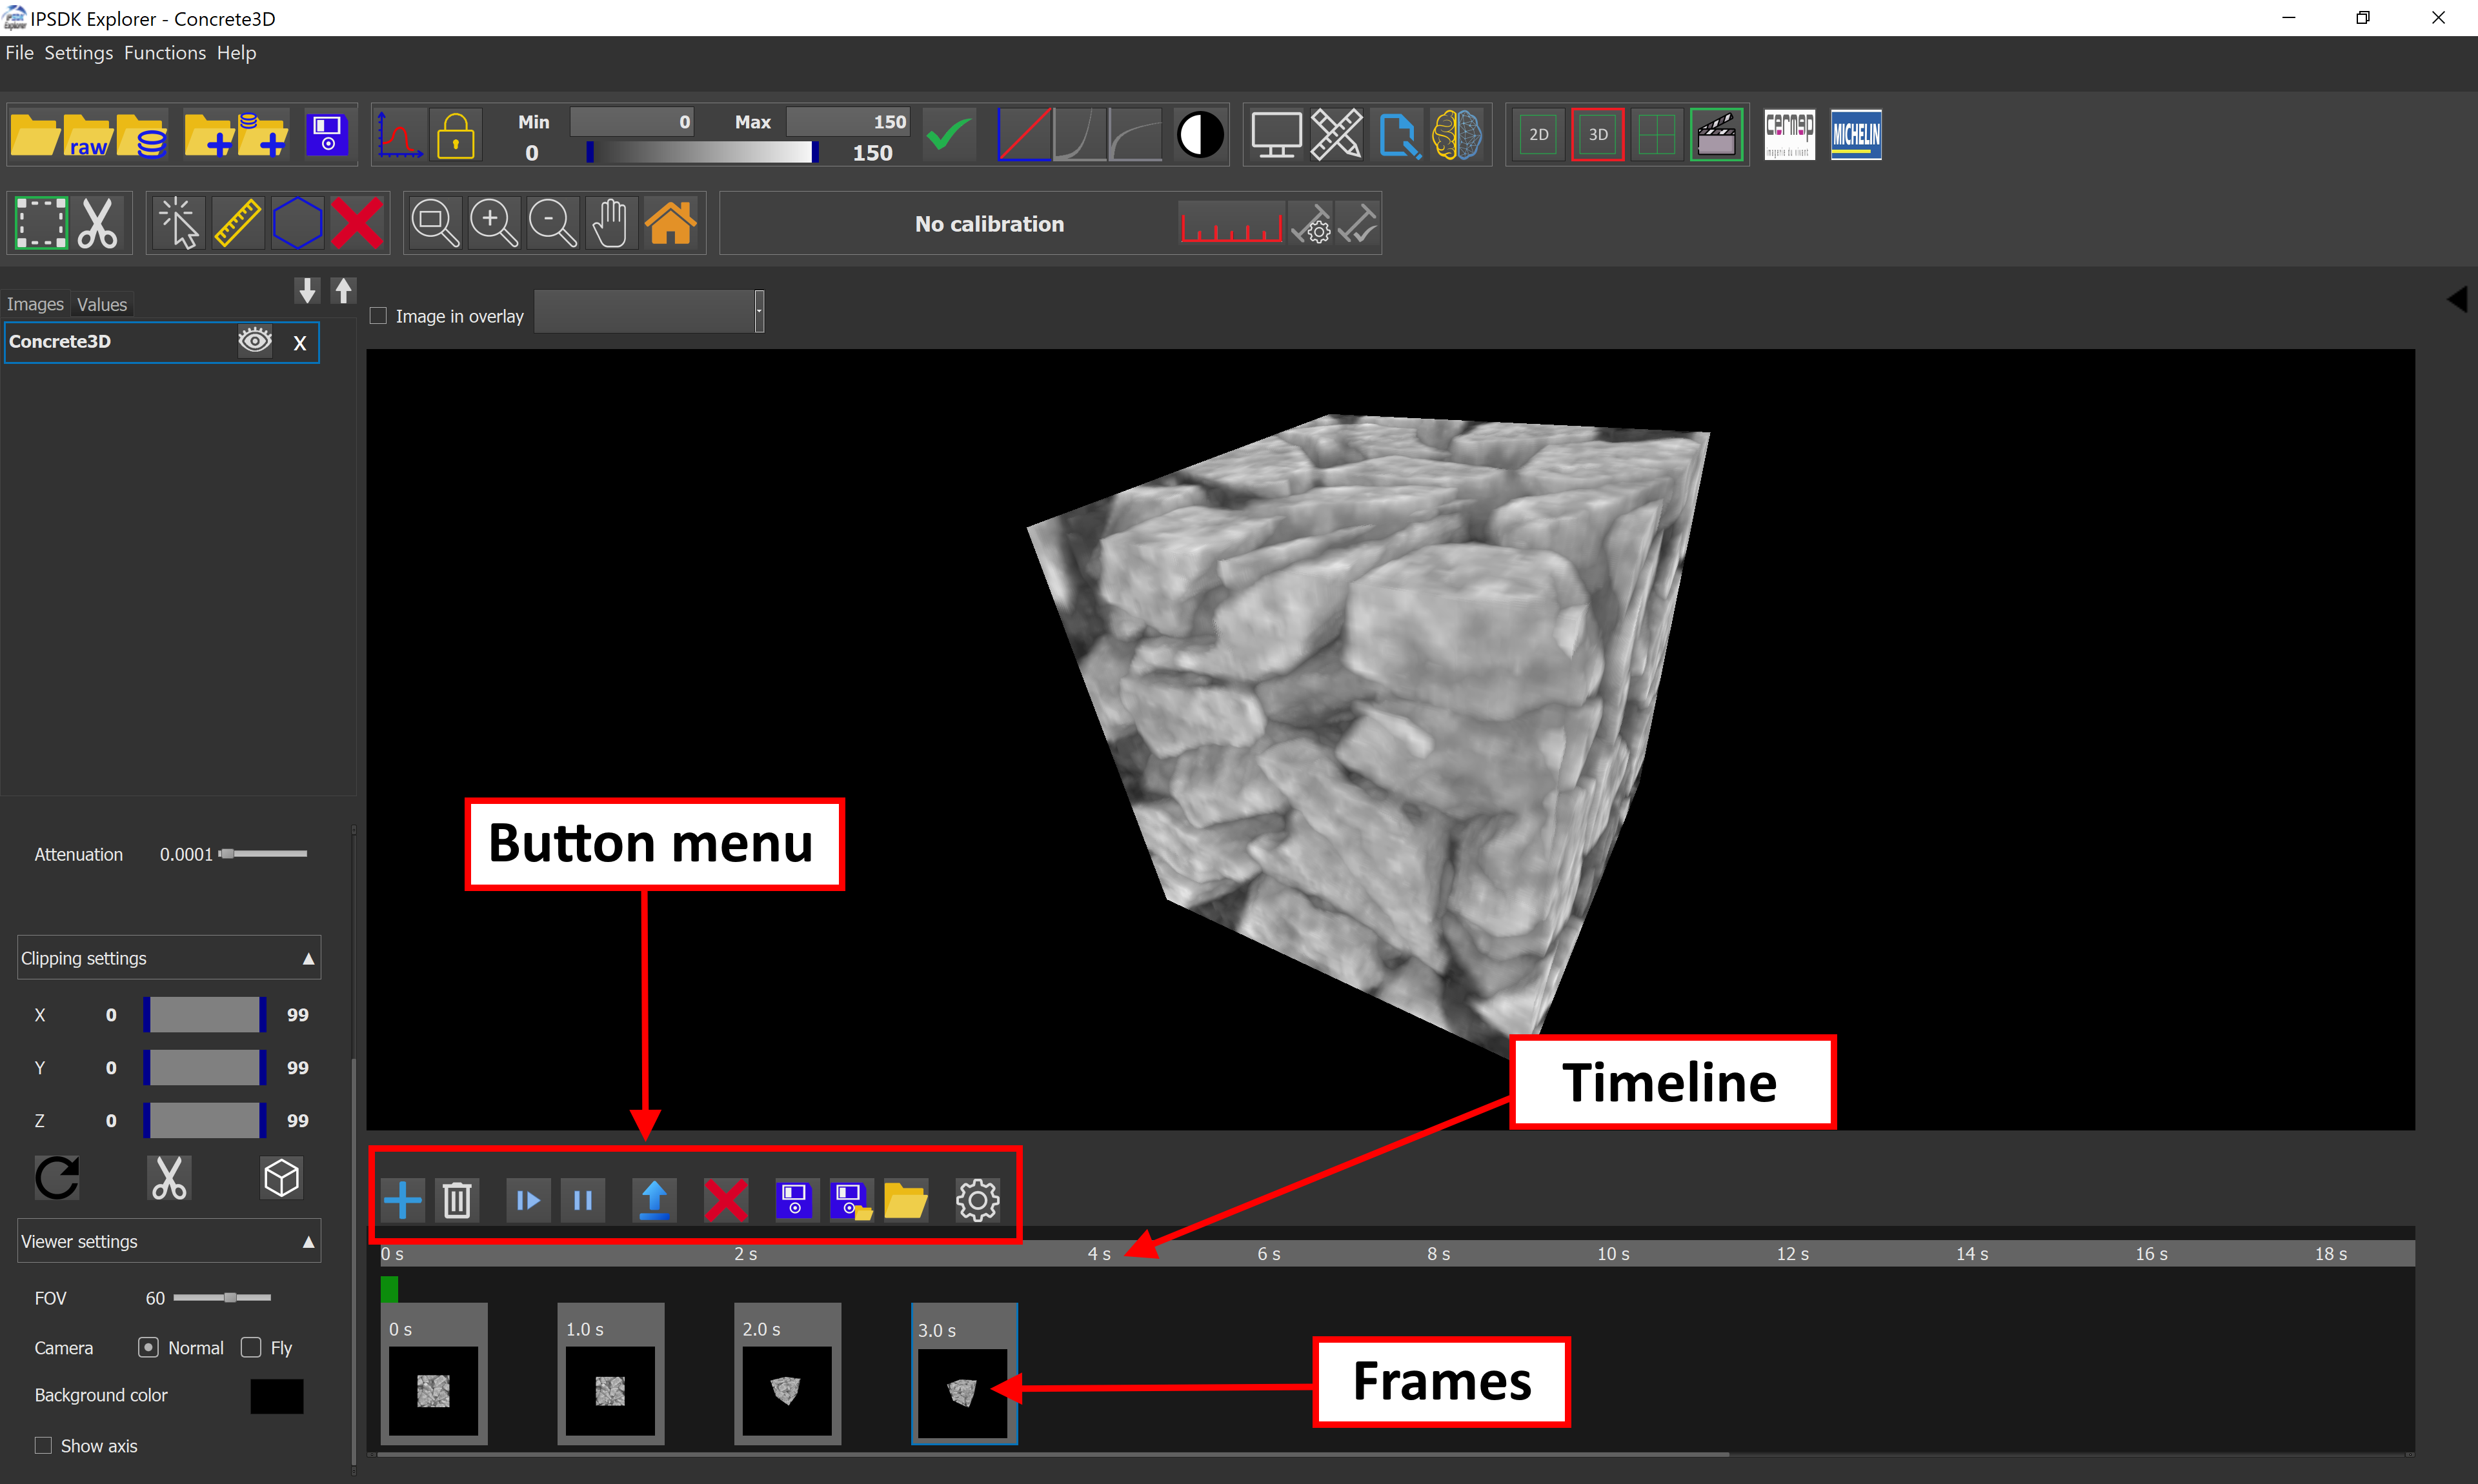
The buttons allow various actions in the moviemaker, from adding frames, to playing the movie or saving an animation.
Here is a detailed list of each button and the action associated with it in the module.
| Icon | Description |
|---|---|

| Adds a new frame to the movie. |

| Deletes the selected frame. |

| Plays the movie at the movie slider position. |

| Pauses the movie. |

| Exports the movie with a video format to a chosen folder. |

| Deletes all the frames of the movie. |
| Saves all the settings changed and the camera positions as a scenario. |

| Saves all the volumes/meshes in the list as well as the scenario in a project. |

| Imports an existing scenario or project. |

| Opens the settings window. |
Like in most video editing software, the moviemaker module also has a video track. This track will not contain videos, but instead a list of frames that will form the final video.
The video track consists of a timeline, a timeline slider, and a queue of frames. It allows to add new frames and organizing them to create the desired animation.
Adding new frames creates new thumbnails to the video track. There are many ways to interact with the frames.
All possible interactions with the video track and frames are summarized in the table below.
| Interactions | Description |
|---|---|
| Selects a frame and load its state in the viewer. |

| Moves a frame inside the video track when interacting with a frame, or changes the frame displayed when interacting with the time slider. |
| Moves a frame and all the frames behind it inside the video track. |
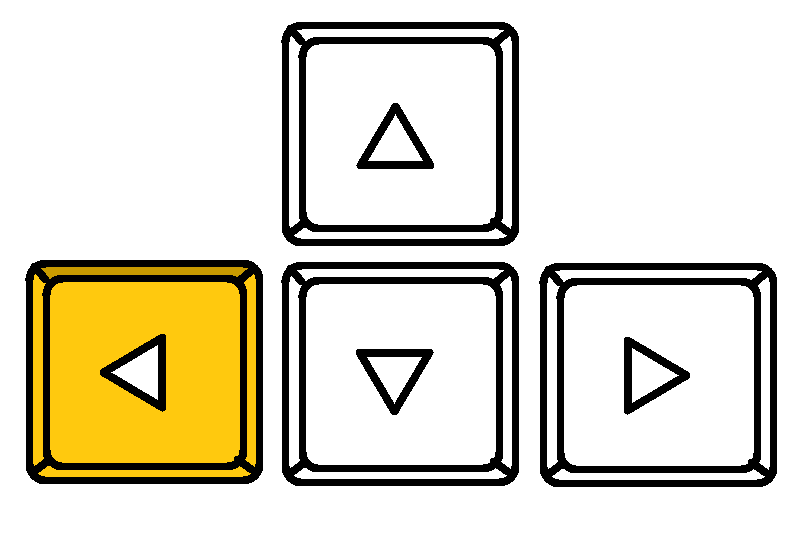
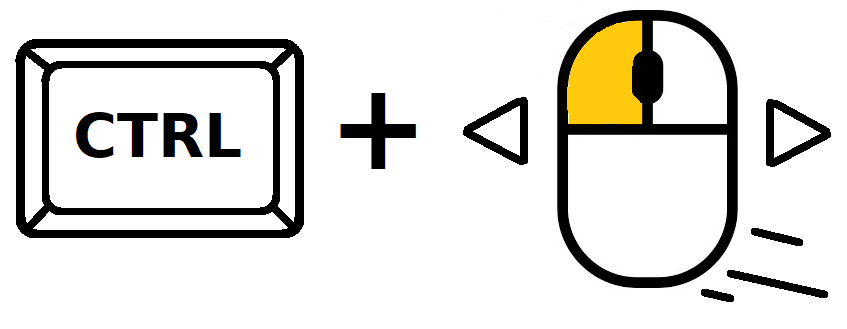
| Moves a selected frame to the left in the video track. |
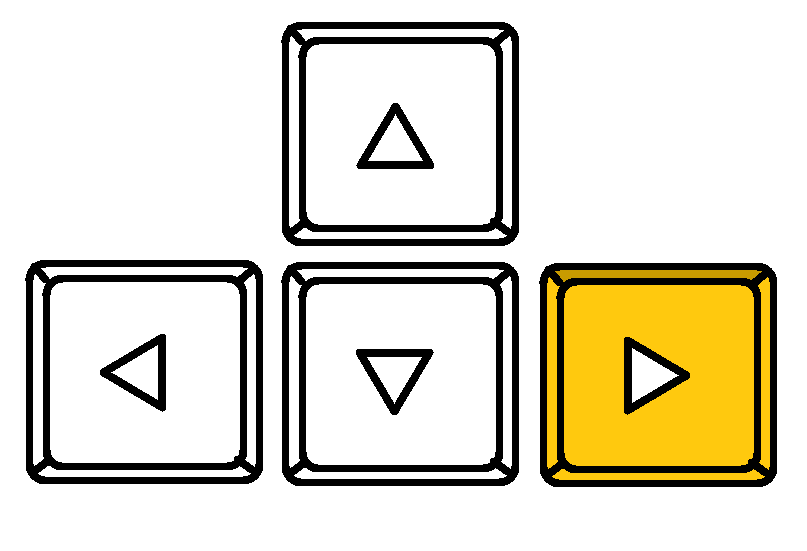
| Moves a selected frame to the right in the video track. |

| Opens the contextual menu for a frame. |
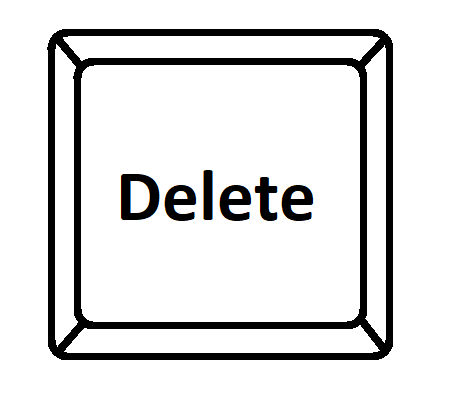
| Deletes a selected frame. |
It is possible to modify a frame by right-clicking on its thumbnail. A context menu will open allowing to update, delete, duplicate a frame, or edit the camera parameters of a frame.
Every frame created is added to the video track timeline as a thumbnail that is editable.
The module allows the user to update a frame. To do so, follow the steps below.
1) Click on the frame to edit and change the 3d settings or the camera position,
2) Right click on the snapshot of the frame and select "Update frame" in the contextual menu,
3) Double click on the first frame and click on play to preview the changes.
Here is an example of what an update of a frame looks like.
The module allows the user to remove a frame from the movie. To do so, follow the instructions below.
1) Right click on the frame to delete,
2) In the contextual menu, select the remove frame option.
Here is an example of what the removal of a frame looks like.
The module allows the user to duplicate a frame in the video track. To do so, follow the few steps below.
1) Right click on the frame to duplicate,
2) In the contextual menu, select the duplicate frame option,
3) Move the duplicated frame at the right place in the movie if necessary.
Here is an example of the duplication of a frame.
The module allows the user to edit the camera settings of a frame. To do so, follow the few steps below.
1) Right click on the frame to edit,
2) In the frame editor window, change the settings that needs to be changed,
3) Click on the check mark button on the bottom right when finished to apply changes.
There are different camera settings in the frame editor window, like the zoom, the camera center, the camera angle, and the field of view.
Here is an example of the edition of a frame.
Each created animation consists of a scenario that records every parameter modified throughout the film. These scenarios can be saved and re-imported later into the module for further modifications.
Importing a project will load the saved volumes into the 3D viewer along with the frames composing the scenario.
Numerous formats are available, such as .avi, .mp4, .gif, .mov, or .mkv.
